IC-LoRA in LTX-2.3: Complete ComfyUI Workflow Guide (Official Lightricks)
Official Lightricks walkthrough of IC-LoRA in LTX-2.3 — Canny, Depth, and Pose control modes, Union Control, Motion Track, multi-stage sampling, and production best practices in ComfyUI.
By ltx workflow
Editor's Note: Official Lightricks tutorial on using IC-LoRA in LTX-2.3. Covers all three control modes (Canny / Depth / Pose), the Union Control + Motion Track variants, and the multi-stage sampling pipeline. Mirrored here with images preserved.
IC-LoRA (In-Context LoRA) is a powerful control mechanism in LTX-2 that separates motion from visual styling. Instead of describing camera movements or character actions in text prompts, IC-LoRA extracts structure and motion directly from reference videos and applies them to entirely new generations.
This tutorial walks through the official LTX-2 IC-LoRA workflow in ComfyUI, explaining when to use each IC-LoRA mode, how the preprocessing pipeline works, and best practices for high-quality motion transfer.
What Is IC-LoRA?
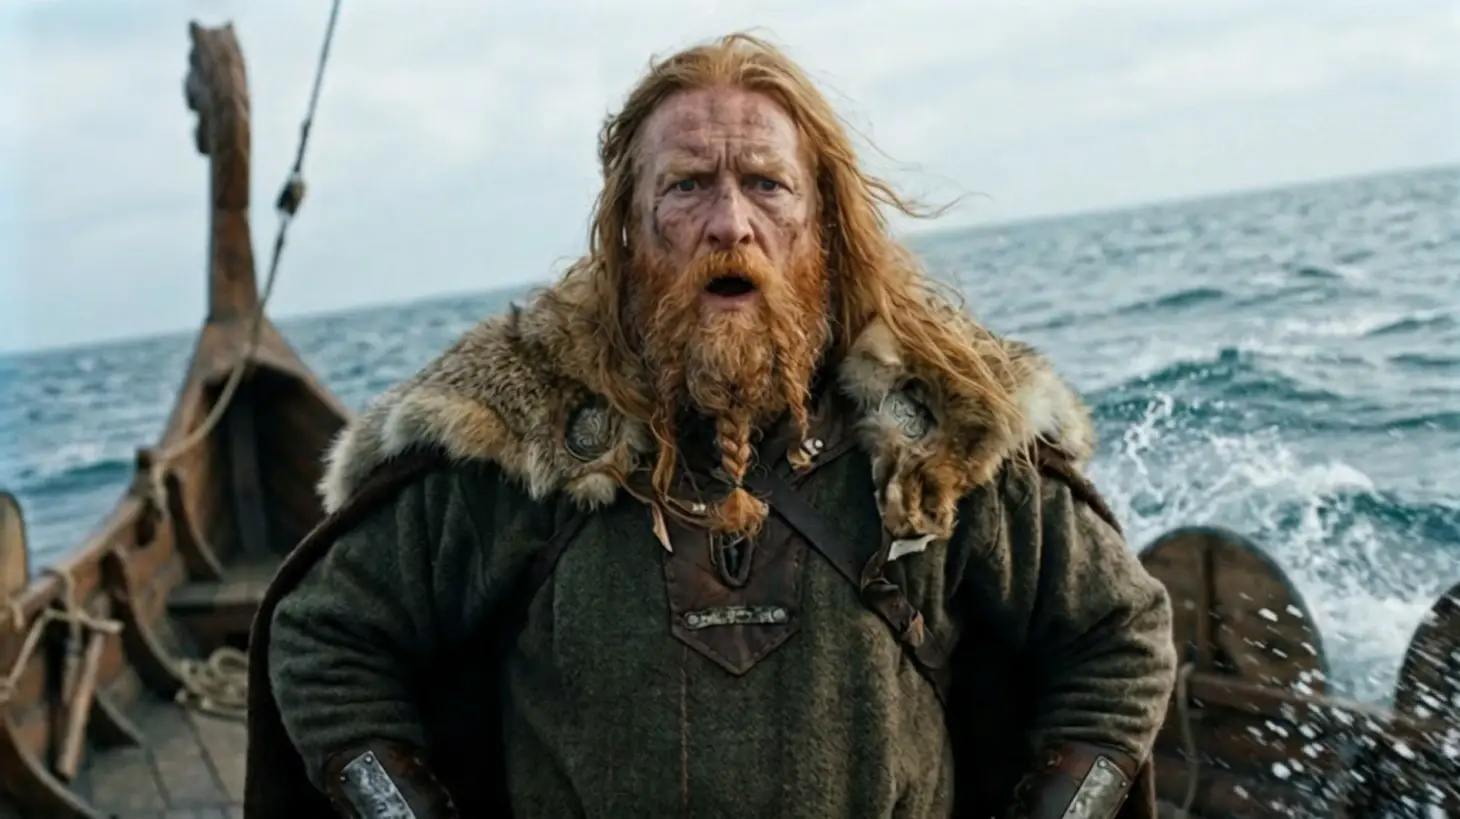
IC-LoRA (In-Context LoRA) transfers the structure and motion from a reference video onto a completely new generation while allowing you to reimagine the visual style through text prompts.
The workflow enables you to:
- Lock camera movements from reference footage
- Preserve scene geometry and spatial relationships
- Transfer human motion and performance to different visual styles
- Maintain temporal consistency across frames
This approach is conceptually similar to ControlNet for images, but applied across multiple frames in video.
The Three IC-LoRA Modes
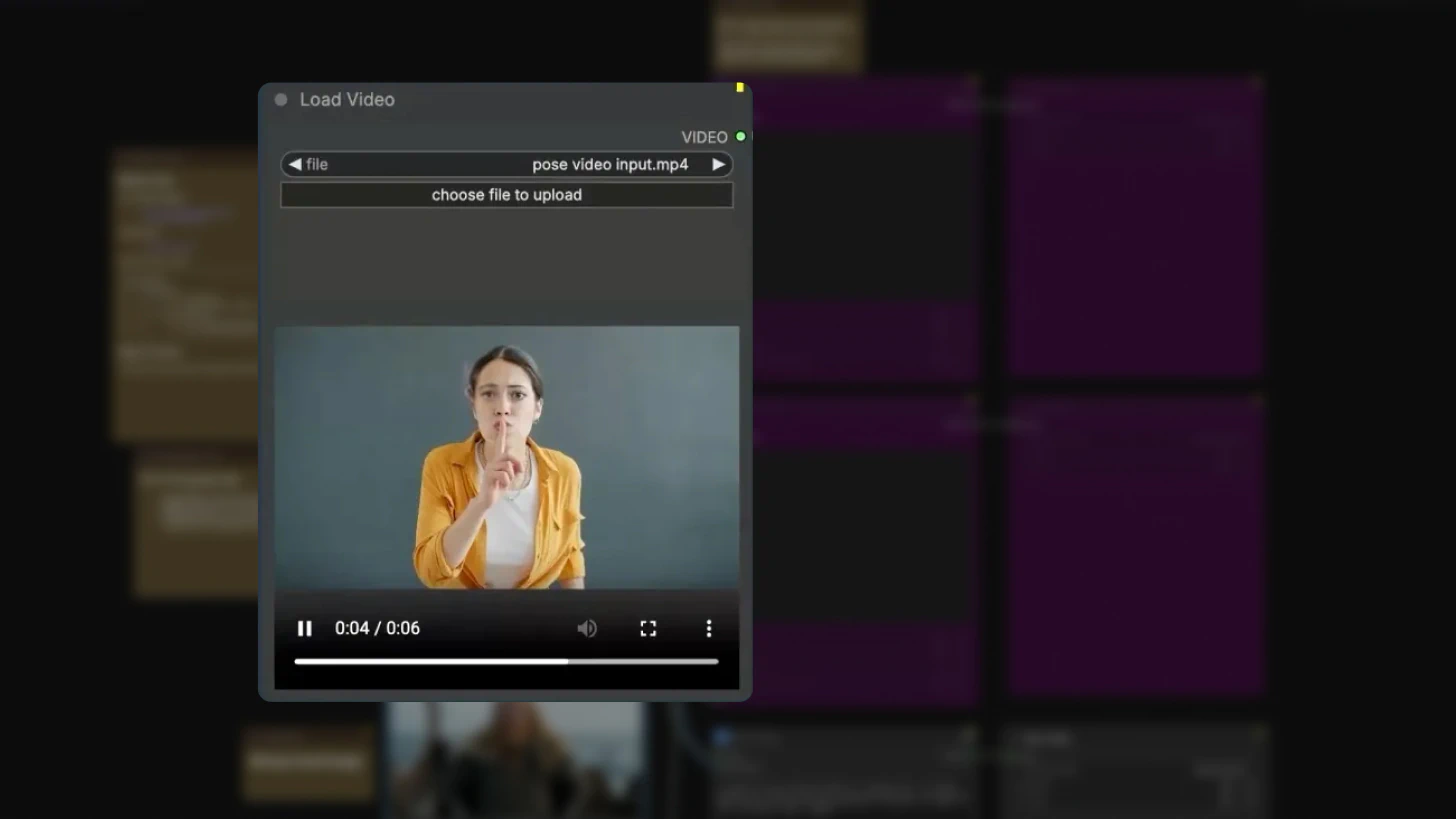
The LTX-2 IC-LoRA workflow includes three separate IC-LoRA groups, each designed for different types of structural control.
Canny IC-LoRA: Edge Preservation
What it extracts: Edge maps and outlines from the reference video
Best for:
- Preserving shot composition and framing
- Maintaining silhouettes and structural boundaries
- Stylized outputs where clean shapes matter more than photorealism
Use case: When you need to keep the compositional structure of a shot while changing everything else—ideal for animation, illustration styles, or abstract visuals.
**
Depth IC-LoRA: Camera Movement and 3D Geometry
What it extracts: Depth maps and spatial scene geometry
Best for:
- Camera movement (pan, tilt, dolly, crane shots)
- 3D structure and spatial relationships
- Parallax and depth-aware motion
Use case: Cinematic shots where camera motion is critical—tracking shots, establishing shots, or any scenario requiring precise camera control and spatial coherence.
**
Pose IC-LoRA: Human Motion Transfer
What it extracts: Skeleton joints and body movement using DWPose
Best for:
- Dance choreography
- Complex body movements
- Athletic or action sequences
- Performance capture
Use case: Transferring human motion to different characters or visual styles while preserving the exact timing and performance of the original—perfect for stylized character animation or motion retargeting.
**
Workflow Setup: Loading Reference Assets
Step 1: Load Reference Video and Image
The workflow requires two inputs:
**Load Video node:****Upload your reference video containing the motion you want to transfer.
**Reference Image:***Even when running in text-to-video mode, an image input is required for the workflow to execute.
Step 2: Choose Generation Mode
The workflow supports two modes controlled by the text-to-video switch (set to false by default):
Image-to-Video Mode (switch = false)
- Uses a custom-generated image as the starting point
- Animates from that image while following the reference video's motion
- Critical: For best results, generate the first frame using ControlNet or another image model derived from your reference video's first frame
- Misalignment between your starting image and reference video can cause jump cuts or visual artifacts
Text-to-Video Mode (switch = true)
- Generates all video pixels from scratch based on your prompt
- Still strictly adheres to the structure and motion of the reference video
- No image alignment required, but motion control comes entirely from the reference
Prompting Strategy for IC-LoRA
Since motion is handled by the IC-LoRA itself, your prompting approach must change. For comprehensive prompting techniques and examples tailored to LTX-2, refer to the LTX-2 Prompting Guide.
What to Include in Prompts
Focus on visual characteristics only:
- Visual style and aesthetic (e.g., "cinematic noir lighting", "watercolor painting style")
- Subject description (character appearance, clothing, features)
- Background elements (environment, scenery, objects)
- Textures and materials (surface qualities, finishes)
- Lighting (mood, time of day, color grading)
What NOT to Include
Avoid describing motion:
"Camera pans left"** "Character walks forward"**"Slow zoom in"
Motion is automatically derived from the reference video. Describing it in the prompt creates conflicting instructions and degrades output quality.*
Inside the IC-LoRA Workflow Architecture
Most of the workflow is packaged into subgraphs for convenience, but understanding the internal structure helps with customization.
Core Components (Using Pose IC-LoRA as Example)
Model Loading:
- IC-LoRA loader – Loads the specific IC-LoRA (Canny, Depth, or Pose)
- LTX-2 checkpoint – Base video generation model
- LTX upsampler model – Handles resolution upscaling
- Gemma CLIP encoder – Processes text prompts
- Audio VAE – Decodes audio latents
The Preprocessing Pipeline
Step 1: Video Preprocessing
The reference video passes through a mode-specific preprocessor:
- Canny mode: Edge detection preprocessor
- Depth mode: Depth map extraction
- Pose mode: DWPose (extracts skeleton and joint positions)
This preprocessing extracts the structural information that will guide generation.
Step 2: Prompt Enhancement
In text-to-video mode, prompts pass through the custom prompt enhancer node, which includes an elaborate system prompt for refinement.
**In image-to-video mode, this node is bypassed by default.**
Best practice: Take the enhanced prompt and manually adjust it, especially if you want your character to say a specific phrase or need precise control over audio content.*
The LTXV Add Guide Node: Control Center
This node is your primary control interface for IC-LoRA behavior.
Key parameters:
**Frame index: **Set to 0 by default, ensuring guidance starts from the very beginning of the video.Strength: **Set to 1.0 by default (full strength).*Important: Values below 1.0 can cause the reference video to "pop" or bleed through in the output. Generally, you don't want to change this unless debugging specific issues.
Multi-Stage Sampling
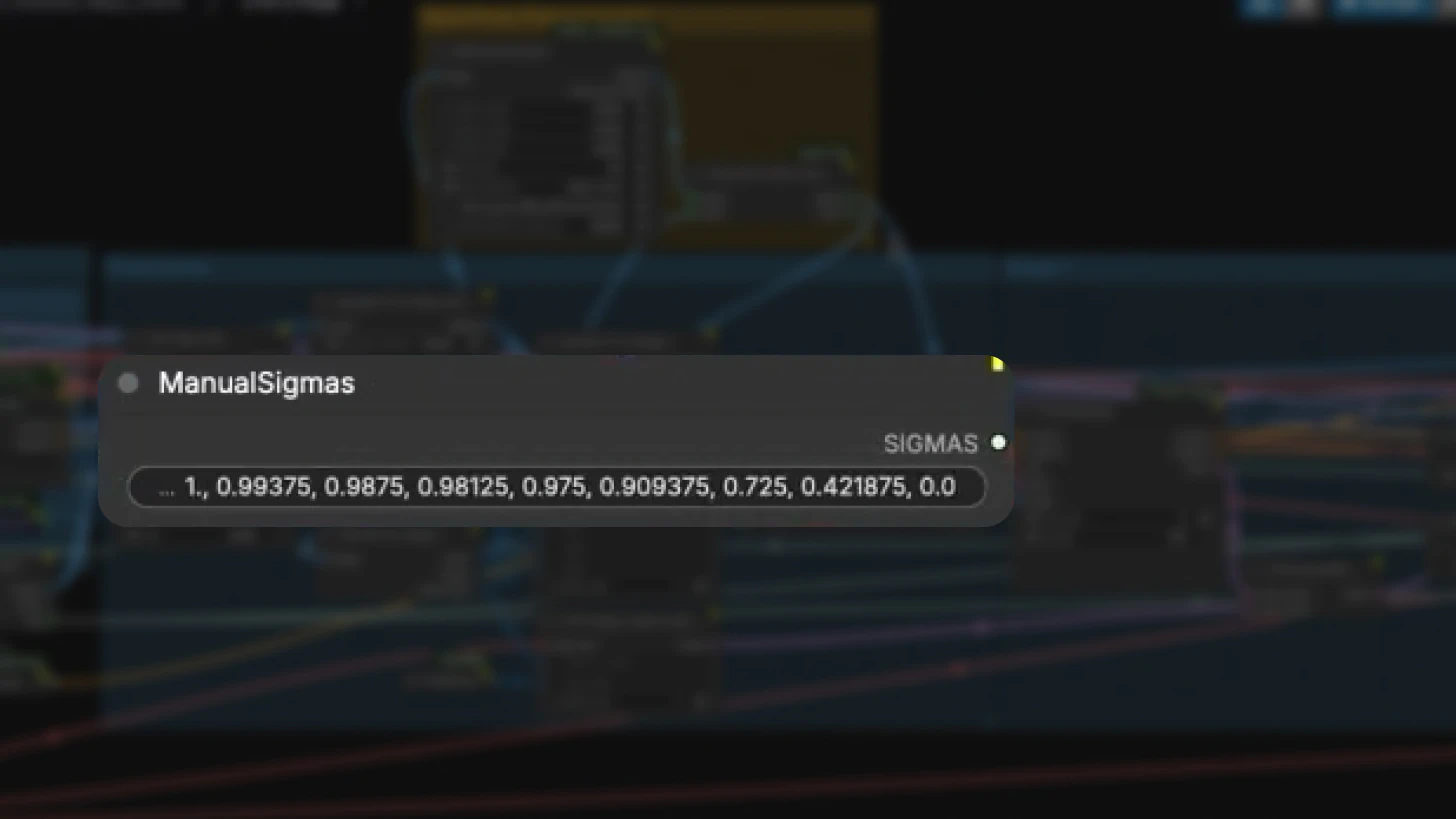
Like the distilled image-to-video workflow, IC-LoRA uses a **two-stage sampling process:**
Stage 1: Low-Resolution Generation
- Generates at lower resolution first
- Uses Euler ancestral sampler with 8 sigma steps
- Faster iteration and lower VRAM usage
Stage 2: Upscaling
- Upscales to final target resolution
- Refines details while maintaining motion consistency
This multiscale approach balances quality and performance.*
Best Practices for IC-LoRA Workflows
Memory Management
**Run one IC-LoRA group at a time:****Running multiple IC-LoRA modes simultaneously (e.g., Canny + Depth + Pose) will cause VRAM issues. Choose the mode that best fits your control needs and mute the other two groups.
Image-to-Video Alignment
Generate first frame from reference video
For I2V mode, use ControlNet or another image generation model to create a first frame derived from your reference video's first frame. This prevents:
- Jump cuts at video start
- Visual discontinuities
- Temporal artifacts
Prompt Customization
**Manually adjust enhanced prompts:****While the prompt enhancer is helpful, manually refining the output gives you better control - especially for:
- Specific dialogue or audio content
- Precise visual details
- Style consistency
Keep Default Strength Values
The default guidance strength of 1.0 is optimized for most use cases. Only adjust if you're experiencing specific issues with reference video bleed-through.
Understanding the Output
The final result is a video that:
- Completely reimagines the visual style based on your prompt
- Locks in the original motion perfectly from the reference video
- Maintains temporal consistency across frames**Synchronizes audio and video output
- This separation of motion and style is what makes IC-LoRA a production-ready control mechanism—you get deterministic motion behavior with creative freedom over aesthetics.
Getting Started with IC-LoRA
Quick Start Checklist:
-
Download the IC-LoRA workflow from the LTX Models repository
-
Prepare a clean reference video with the motion you want to transfer
-
Choose your IC-LoRA mode based on control type needed:
-
Canny for composition/edges
-
Depth for camera/3D structure
-
Pose for human motion
-
Load reference assets (video + image)
-
Write a style-focused prompt (avoid motion descriptions)
-
Set text-to-video mode (true/false) based on your use case
-
Generate and iterate
Next Steps:
- Experiment with all three IC-LoRA modes to understand their strengths
- Train custom IC-LoRAs using the LTX video trainer repository
- Build motion reference libraries for repeatable production workflows
- Combine with standard LoRAs for additional style control
Why IC-LoRA Matters for Production Workflows
IC-LoRA represents a fundamental shift in AI video control—moving from unpredictable prompt-based motion to deterministic, reference-driven motion transfer.
Key advantages:
Repeatability: The same reference video produces consistent motion across generationsTemporal coherence:** Frame-to-frame consistency improves dramaticallySeparation of concerns:** Motion and style become independent variables****Production scalability:** Build libraries of motion references for systematic reuse
This makes LTX-2 with IC-LoRA suitable for professional workflows where consistency and predictability matter more than creative serendipity.
Conclusion
IC-LoRA unlocks precise motion control in LTX-2 by separating motion from visual styling. Whether you need to preserve edges with Canny, control camera movement with Depth, or transfer human performance with Pose, IC-LoRA gives you deterministic, repeatable results that work in production environments.
The key to success: let the reference video handle motion, and use your prompts purely for visual style. This separation makes AI video generation more predictable, consistent, and production-ready.
Ready to get started? Download the IC-LoRA workflow, choose your control mode, and start experimenting. For advanced users, explore the LTX video trainer to create custom IC-LoRAs tailored to your specific motion control needs.